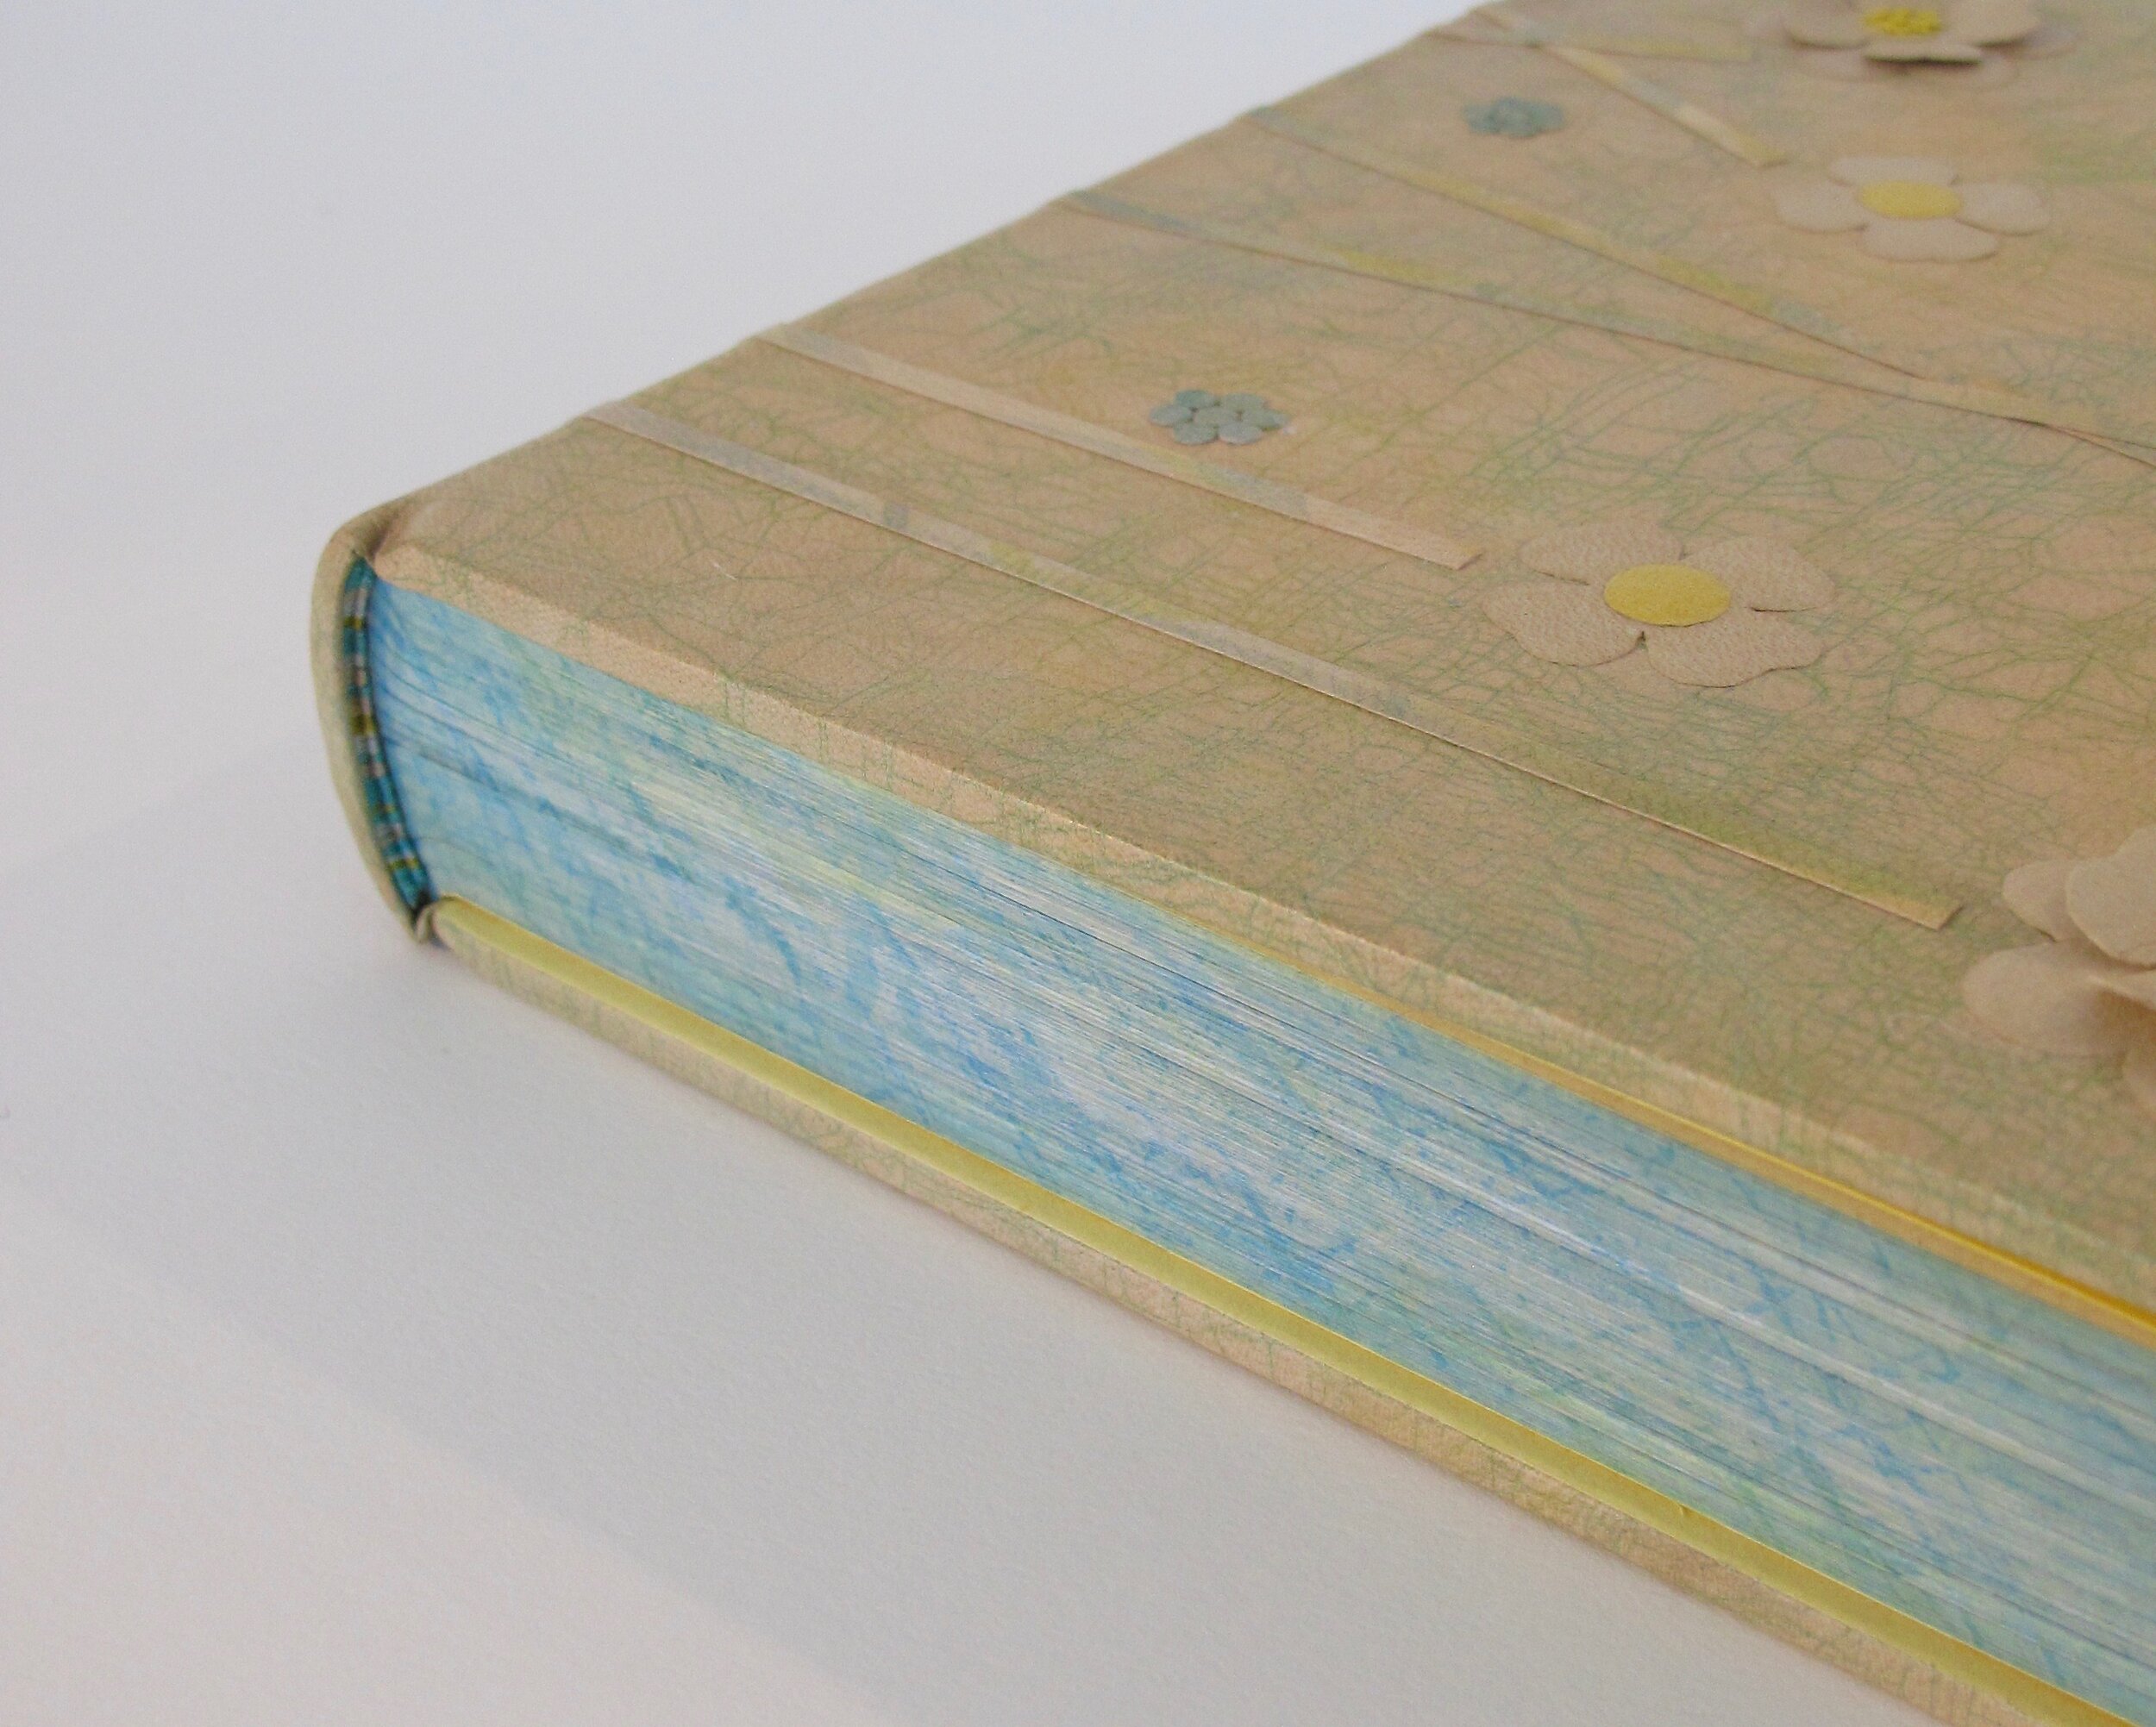
The evolution of my craquelle dyed binding of Vintage Life
Fine binding of Vintage Life
I have a new love and it is the art of dyeing. On the weekend I’ve been known to have a big pot of Rit Dye on the stove for tee-shirts and tea towels. I also taught myself orizomegami, a Japanese paper dying technique. I’ve dyed paper with coffee and tea and have marbled with acrylics for years. Shibori and indigo has been my latest craze and then there is eco-dying…OMG! who has a free year to try every craft they’ve felt the urge to explore?!?!
I was exposed to craquelle many years ago and all I can say is that I think I must have been on mental overload at the time and filed it away as “something I’d look into later.” Later ended up being a class I took with Nicky Oliver through the New England Chapter of the Guild of Bookworkers. It wasn’t craquelle in particular that I loved at class, it was using the dye itself and the transformation that could happen with any given technique.
When I got home I ordered powder dyes from Talas and started exploring different techniques and incorporating them into my fine binding.
When I was designing a cover for Design by Nature by Erica Tanov the texture in many of the images made me think of cracquelle. Below is an illustration of my thought process.
I decided to give it a try with cracquelle and do a whole piece of calf skin for the cover. Since I didn’t care for the natural pink hue in the skin I first started by dyeing the skin with coffee and yes it was the left over coffee from the morning : )
coffee dyed calf
Then onto craquelle…
Craquelle method:
Brush leather with a thick layer of paste and let dry. I let mine dry outside until it was fully dry. If the leather isn’t fully dry then you will not get the cracks you need in the paste.
Pull leather in different directions to crack the paste. Varying degrees of pulling will create more or less cracks. Think about what you want your finished piece to look like.
Paint. I chose to use aniline leather dye but you can also use watered down acrylic. Wait to dry.
Wash off the paste. I’ve heard of using a credit card to do this. It does work, but I scratched another skin that way, so I just kept washing until the paste came off. It took awhile but it was worth it.
This is the finished skin after cracquelle. I wanted some additional color so I went in with a brush and applied some yellow/green and a light blue.
After I was done with the whole process, I didn’t think the leather was right for the book! OMG!!! I worked so hard on it. I put it away in my flat file and forgot about it and ended up designing Design by Nature with a dark brown cover that will hopefully have a weaving (still a work in process).
Months later when I was nominated to bind Vintage Life I went through my flat files and there was my craquelled piece of calf skin : ) It was the right size and I loved the patina look.
Thanks for reading. Let me know if you have any questions at all. I’d love to try and answer them.


